
Short answer: If Gigabyte Control Center Not Working is the problem, start with a reboot, run it as admin, update Windows/drivers, install the latest .NET and Visual C++ redistributables, clean‑reinstall GCC, and disable conflicting RGB/system utilities. If you’ve enabled Windows Core Isolation > Memory Integrity, try turning it off temporarily to test. Most “Gigabyte Control Center Not Working” cases are fixed by one of these steps.
Table of Contents
At a glance (for quick answers)
- Fast wins: Reboot, Run as administrator, end stuck GCC processes, and relaunch.
- Dependencies: Keep Microsoft .NET and Visual C++ redistributables current.
- Conflicts: Uninstall other control suites (e.g., RGB/fan/OC tools) that can block device access.
- Drivers: Update chipset, GPU, and motherboard utilities; outdated drivers often cause “Gigabyte Control Center Not Working.”
- Security: Test with Memory Integrity off if device access keeps failing.
- Clean reinstall: Fully remove, delete leftover config folders, then install the latest GCC fresh.
Why “Gigabyte Control Center Not Working” happens
- Corrupted install or leftover files from an update.
- Missing dependencies (.NET runtime, Visual C++ redistributables).
- Driver mismatches (chipset, GPU, fan/RGB controller).
- Conflicting software (other vendor control apps, monitoring overlays).
- Windows security features blocking low‑level access.
- Outdated BIOS/EC firmware on some laptops or motherboards.
Step‑by‑step fixes (start at the top and walk down)
1. Quick reset and admin launch
- Restart the PC, then right‑click Gigabyte Control Center > Run as administrator.
- If it’s already open but invisible, open Task Manager and end any GCC‑related processes, then relaunch.
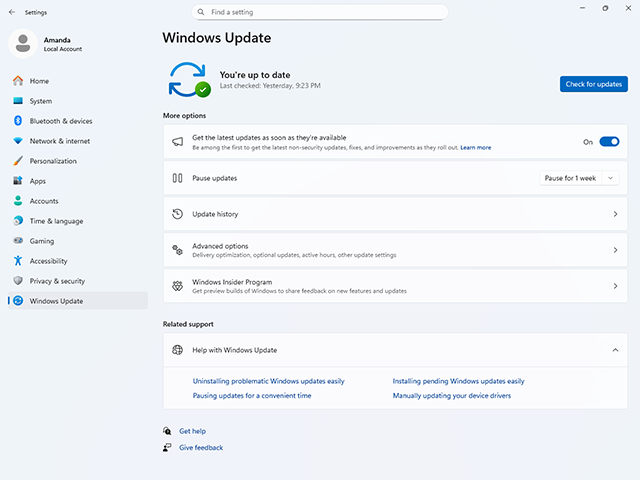
2. Update Windows and drivers
- Install pending Windows Updates.
- Update chipset drivers first (they govern hardware communications).
- Update GPU drivers (NVIDIA/AMD/Intel).
- If your motherboard/laptop vendor provides device utilities (audio/RGB/controller), update those too.
- Many “Gigabyte Control Center Not Working” cases are just driver/OS mismatches.
3. Install Microsoft .NET and Visual C++
- Install the latest .NET runtime.
- Install current Visual C++ redistributables (both x64 and x86 if applicable).
- Reboot. Missing runtimes are a common reason for “Gigabyte Control Center Not Working.”
4. Clean‑reinstall GCC (the right way)
- Uninstall Gigabyte Control Center.
- Reboot.
- Delete leftover folders:
- AppData > Local > Gigabyte > GCC (if present)
- Program Files/Program Files (x86) > GIGABYTE (only if you’re sure nothing else depends on it)
- Reboot again.
- Download the latest GCC for your exact model from the official support page.
- Install and Run as administrator.
- Clean reinstalls solve most stubborn “Gigabyte Control Center Not Working” behavior.
5. Remove conflicts (this matters)
- Uninstall other control suites (RGB/fan/OC): e.g., MSI Center, Armoury Crate, iCUE, ASRock Polychrome, Aura Sync, etc.
- Disable third‑party overlays (some monitoring/OSD tools can hook devices).
- Reboot and test. Competing apps are a top cause of “Gigabyte Control Center Not Working.”
6. Test security features and compatibility
- Temporarily disable Core Isolation > Memory Integrity (Windows Security > Device Security > Core Isolation Details).
- Reboot and test GCC. If it works now, you’ve found the blocker. Decide whether to keep this change or seek a driver/firmware update that restores compatibility.
- If GCC still won’t launch, try Compatibility Mode (Windows 10) for the executable.
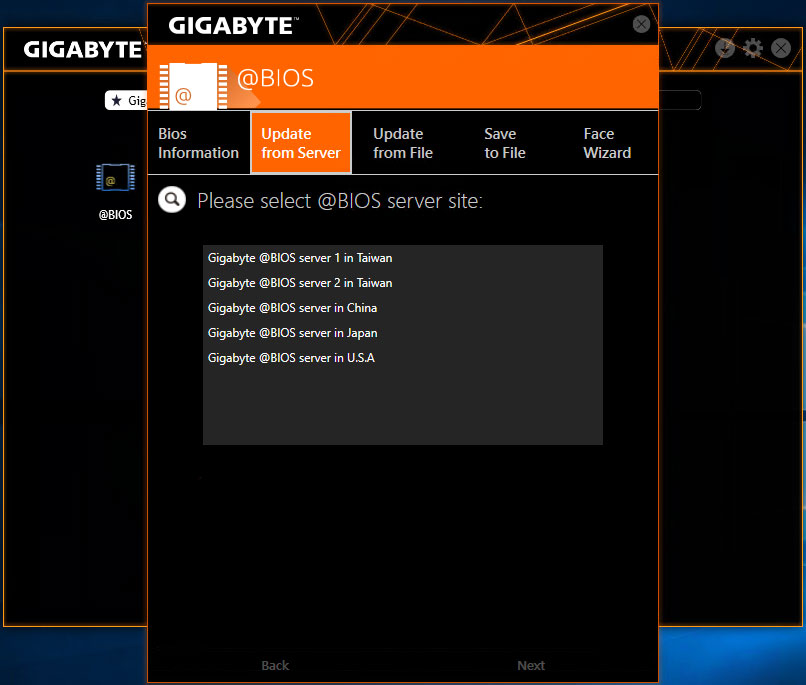
7. Firmware and BIOS updates (if supported)
- Check your motherboard/laptop support page for a BIOS or EC update—and follow vendor instructions carefully.
- Firmware mismatches can cause detection failures that look like “Gigabyte Control Center Not Working.”
8. Last checks
- Try another Windows user account (rules out profile corruption).
- Create a System Restore point, then test after each major change.
- If nothing works, capture logs/screens and contact official support for model‑specific steps.
Pro tips to prevent “Gigabyte Control Center Not Working” from returning
- Update chipset first, then GPU, then peripherals.
- Avoid running multiple control utilities side by side—stick to one ecosystem.
- Keep .NET and Visual C++ redistributables current after major Windows updates.
- After a successful reinstall, export GCC profiles if available (for quicker recovery next time).
- If you re‑enable Memory Integrity, retest periodically as driver updates may restore compatibility.
Troubleshooting checklist (copy‑paste)
- Reboot → Run GCC as admin.
- Kill stuck GCC processes → relaunch.
- Windows Update → install all pending updates.
- Update chipset, GPU, and device drivers.
- Install latest .NET + Visual C++ redistributables → reboot.
- Clean‑reinstall GCC (remove leftovers) → fresh installer → admin run.
- Uninstall conflicting control/RGB apps → reboot → test.
- Temporarily disable Memory Integrity → reboot → test.
- BIOS/EC update if available → test.
- Try another user account → gather logs → support.
FAQs
Why is Gigabyte Control Center Not Working after an update?
Updates can leave behind old files or expose driver mismatches. A clean reinstall with up‑to‑date drivers usually fixes it.
Can drivers really cause Gigabyte Control Center Not Working?
Yes—GCC needs correct chipset/GPU/peripheral drivers to talk to hardware. Outdated or wrong drivers break detection and control.
What does Memory Integrity have to do with this?
It blocks certain low‑level calls. Some control software/drivers don’t play nicely with it. Testing with it off helps isolate the issue.
Do I need to uninstall other RGB apps?
If they control the same devices, absolutely. Conflicts are a common reason for “Gigabyte Control Center Not Working.”
Is there an alternative if GCC still won’t run?
For basic control: BIOS fan curves, third‑party fan tools, and universal RGB apps may help—use with care. But the best path is resolving the root cause so GCC can run as intended.
Final word
“Gigabyte Control Center Not Working” is frustrating, but it’s rarely permanent. Work the basics (reboot/admin), line up your dependencies (Windows, drivers, .NET, C++), remove conflicts, then do a clean reinstall. If a security feature or firmware mismatch is the culprit, one quick toggle or update typically clears the road. With that sequence, most systems get GCC running smoothly again.
Also Read: How to Fix “Add Mentions Option Not Showing on Instagram”?


