


If the goal is to hand a Facebook Page to a new person or company, the process can feel confusing. The good news? It’s straightforward once the steps are followed in order. This guide explains How To Change Ownership Of Facebook Page using the current “New Pages Experience,” Page Access settings, and (when applicable) Meta Business Manager. It also covers common errors, verification gotchas, and what to check before removing your own access.
Table of Contents
What Does Facebook Page Ownership Means?
Facebook distinguishes between People with Facebook Access (admins) and a Page Owner (a person or a verified business). Facebook Page ownership means who officially controls and is responsible for a Page’s identity, permissions, and linked business assets. In Meta’s newer setup, “ownership” typically sits with a verified business account (via Business settings), while day-to-day control is granted to people with Facebook Access (admins) who can post, manage roles, run ads, and edit settings.
In practice, the owner decides who gets full control, approves partner access, and can reclaim or release the Page when teams change. It’s the difference between being the accountable entity behind the brand and being an individual with management rights.

Pre‑Checklist Before You Start
- You must have admin-level access to the Page.
- The recipient needs a Facebook account (or a verified Business Manager if ownership will sit with a company).
- Turn on two-factor authentication for smoother permission changes.
- Decide the exact handover date/time so both sides are online to accept invites promptly.
Method 1: How To Change Ownership Of Facebook Page via Page Access
This is the best approach if the Page isn’t managed by a Business Manager (or if you’re simply passing control to a person first).
Switch into the Page
- From your profile menu, switch to the Page profile. This ensures you can see Page Access correctly.
Open Page Access
- Go to Settings & privacy > Settings > Page setup > Page access.
- This is the control center for who can manage the Page.
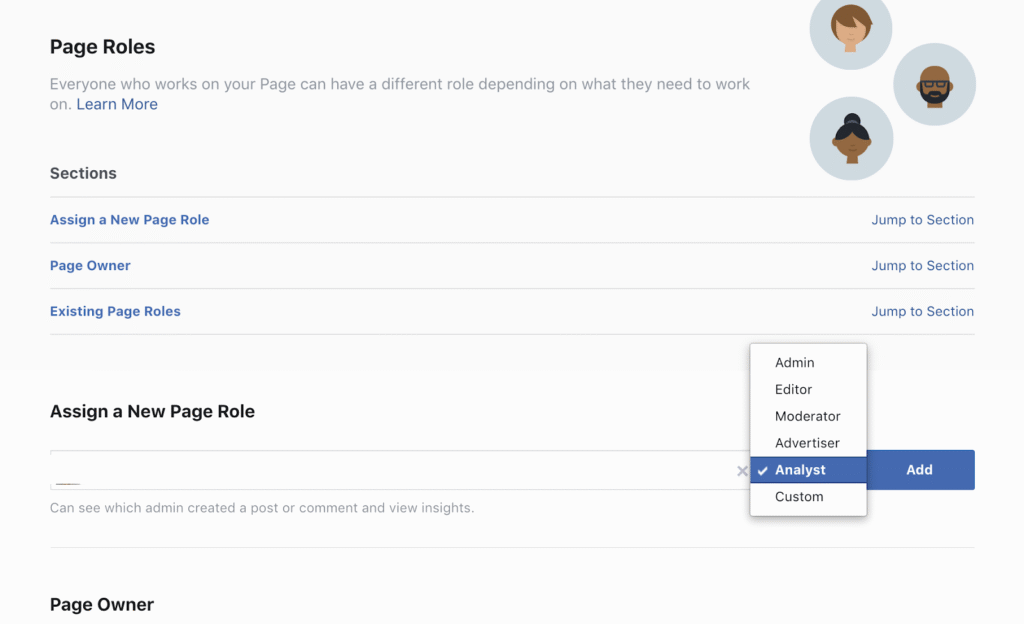
Add the new owner as an admin
- Click Add New next to People with Facebook Access.
- Enter the recipient’s profile or email.
- Grant Full control (admin-level). This is the critical step for How To Change Ownership Of Facebook Page.
Have them accept
- The new admin must accept the invitation from notifications or email.
- Without acceptance, the transfer is incomplete.
Confirm new admin access
- Return to Page access to confirm they show as “People with Facebook Access: Full control.”
Optional: Remove your access
- Only after verifying the new admin has full control should you remove your own access. This finalizes How To Change Ownership Of Facebook Page at the person-admin level.


Method 2: How To Change Ownership Of Facebook Page via Business Manager (for brands/companies)
Use this if the Page belongs to a business or you want the new “Owner” to be a company (verified Business Manager).
Open Meta Business settings
- Go to business.facebook.com and open Business settings for the current owning business.
Check if the Page is in a Business portfolio
- Under Accounts > Pages, confirm which Business owns/controls the Page. This determines where ownership is assigned and later released.
Add the new business or person
- In Business settings, add the recipient under Users > People (for a person) or Partners (for another Business).
- Assign the Page with Full control (Admin access).
Assign Page Owner (businesses only)
- In Page settings or Business settings, look for Assign Page Owner (or similar label under the New Pages Experience).
- Select the verified business that should become Owner. This step is essential to complete How To Change Ownership Of Facebook Page at the business level.
Release ownership (if applicable)
- If your business currently owns the Page, you may need to Request release or remove the Page from your Business after the new Owner is set and confirmed.
- Coordinate timing so the Page remains accessible to the recipient during the switch.
Verify completion
- In Meta Business Suite > Settings > Users, confirm the new Owner/Admin appears correctly.
- In Page access, verify the new party has Full control.
Troubleshooting: When “How To Change Ownership Of Facebook Page” Doesn’t Work
- Invite not received: Ask the recipient to check notifications, email, and spam. Resend from Page access.
- Not seeing Page Access: Ensure you’ve switched into the Page profile and that you have admin-level permissions.
- Business Owner won’t assign: The business must be verified to hold Owner status. If not verified, finish verification first.
- Role confusion: Editor/Advertiser is not ownership. To complete How To Change Ownership Of Facebook Page, grant Full control (admin).
- Two-factor prompts: Enable 2FA on both accounts to prevent permission errors.
Best Practices for a Clean Handover
- Document the date/time and who accepted which invites.
- Export or note page policies, ad account IDs, and connected assets (Instagram, pixel, catalogs).
- Review connected tools (scheduling apps, inbox integrations) so the new owner can manage everything from day one.
- Keep a temporary backup admin for 24–48 hours in case the recipient runs into issues.
- Only remove your access after verifying the new admin can post, manage roles, and access inbox/ads.
Security Tips During How To Change Ownership Of Facebook Page
- Never share passwords. Always use Facebook’s role invitations.
- Confirm the recipient’s profile or Business ID to avoid giving access to the wrong account.
- Avoid public Wi‑Fi when changing Page roles.
- Keep 2FA enabled on both sides—even after the transfer.
FAQs
Does adding an Admin equal ownership?
Granting Full control (admin) gives practical control. For companies, also assign Page Owner to the verified Business to complete How To Change Ownership Of Facebook Page at the organizational level.
Can I transfer without Business Manager?
Yes—use Page access and grant Full control. For business ownership, Business Manager is recommended.
Can I undo a transfer?
Only if you still have admin access. Otherwise, the new owner must invite you back.
How long does it take?
Minutes, if both parties are online and accounts are verified.
Is there a mobile path?
Yes, but desktop is more reliable. On mobile, go to Menu > Pages > select Page > Settings > Page access.
Handover Checklist You Can Copy
- Who is the new owner (person/business)?
- Did you grant Full control in Page access?
- If a business will own it, did you Assign Page Owner to their verified Business?
- Did the recipient accept all invitations?
- Can the recipient post, manage roles, and access inbox/ads?
- Have you safely removed your own access after verifying their control?
Why This Order Works
This sequence mirrors how Facebook handles permissions today in the New Pages Experience. To truly complete How To Change Ownership Of Facebook Page, you must give Full control via Page Access, then (if applicable) assign the Page Owner to a verified Business, and finally confirm acceptance before removing your own access.
Also Read: How to Make Smooth Stone in Minecraft (2025)


